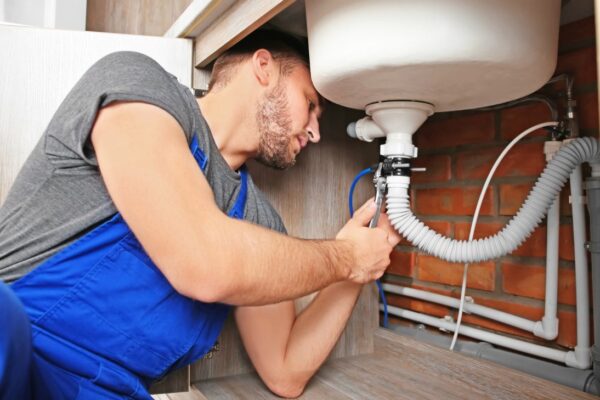

Installing paving stones yourself can be a rewarding project, but it comes with its own set of challenges. Here’s how to overcome common obstacles in DIY paving stone installation, with insights from installation de pavé uni Urban Stone.
Proper Planning and Design
Accurate Measurements
One of the first challenges in DIY paving stone installation is ensuring accurate measurements. Measure the area carefully and plan the layout to avoid miscalculations. Use stakes and string to outline the area and double-check your measurements before purchasing materials.
Design Considerations
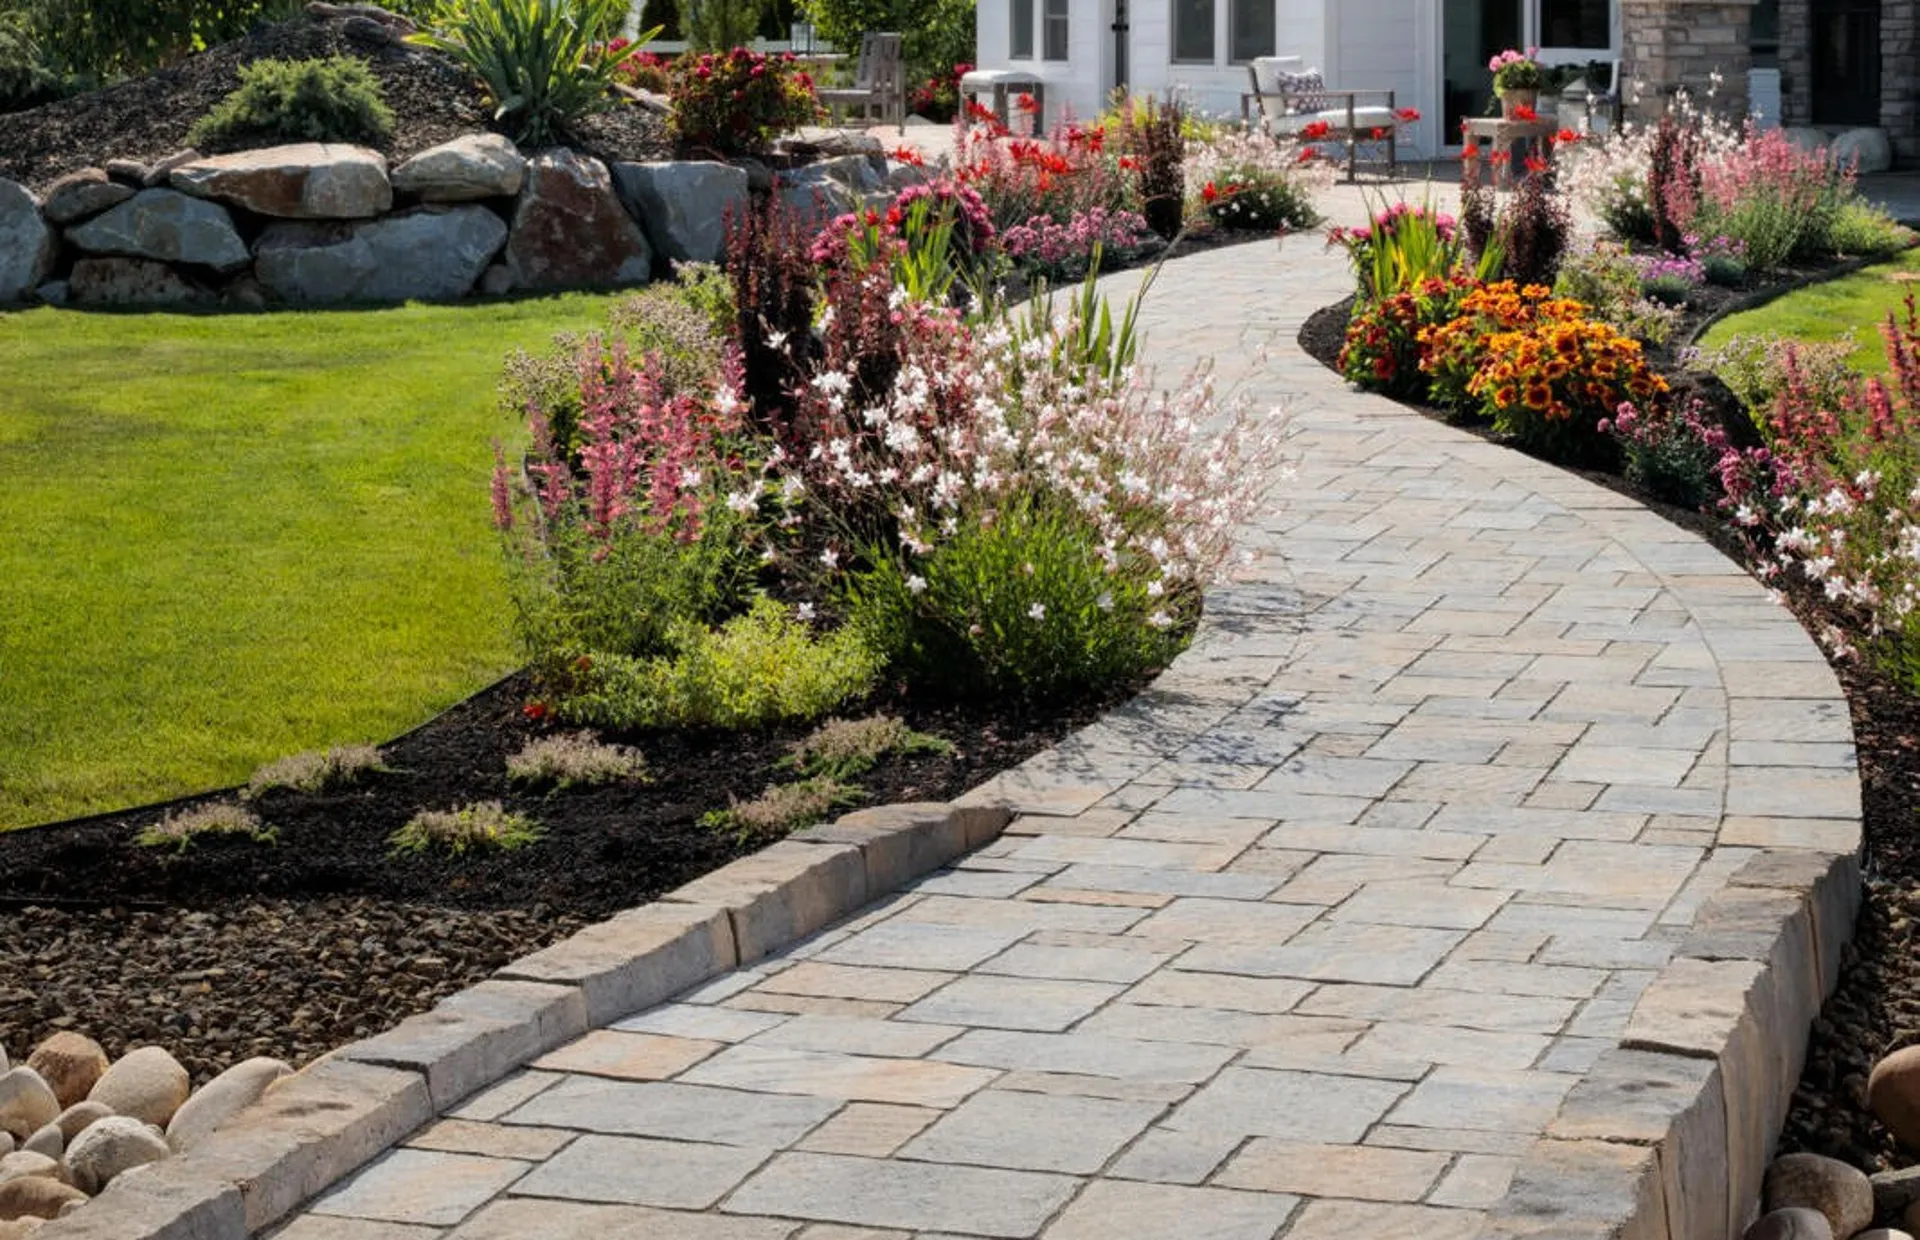
Consider the design and pattern of the paving stones. Choose a pattern that complements your outdoor space and is easy to install. Simple patterns, such as running bond or herringbone, are ideal for beginners.
Site Preparation
Excavation
Proper site preparation is crucial for a successful installation. Excavate the area to the required depth, considering the thickness of the base material and paving stones. Ensure that the excavation is level and free of debris.
Base Installation
A stable base is essential for the longevity of the paving stones. Use high-quality base materials, such as crushed stone or gravel, and compact them thoroughly. This prevents shifting and settling over time.
Dealing with Drainage
Proper Slope
Ensuring proper drainage is a common challenge in DIY paving stone installation. Create a slight slope away from structures to direct water runoff. This prevents water accumulation and potential damage to the paving stones.
Permeable Pavers
Consider using permeable pavers, which allow water to pass through the surface and reduce runoff. These pavers promote natural water infiltration and help maintain the stability of the installation.
Laying the Paving Stones
Leveling
Leveling the paving stones can be tricky, especially for large areas. Use a level and a rubber mallet to adjust the stones as needed. Ensure that each stone is level with the adjacent stones to create a smooth surface.
Spacing and Jointing
Proper spacing between paving stones is essential for stability and aesthetics. Use spacers to maintain consistent gaps and fill the joints with polymeric sand. This prevents weed growth and enhances the durability of the installation.
Cutting and Fitting
Cutting Tools
Cutting paving stones to fit around edges and obstacles can be challenging. Use a masonry saw or a chisel and hammer to make precise cuts. Wear safety gear, such as gloves and goggles, to protect yourself during the cutting process.
Fitting Around Obstacles
Fitting paving stones around obstacles, such as trees or utility covers, requires careful planning and precision. Measure and cut the stones accurately to ensure a seamless fit.
Maintenance and Upkeep
Regular Cleaning
Maintaining the appearance and functionality of your paving stones requires regular cleaning. Sweep the surface to remove debris and use a pressure washer to clean stubborn stains.
Sealing
Sealing the paving stones can enhance their durability and appearance. Apply a high-quality sealer to protect the stones from stains, moisture, and UV damage.
Conclusion
DIY paving stone installation can be a challenging but rewarding project. By planning carefully, preparing the site properly, and using the right techniques, you can overcome common obstacles and achieve a successful installation. Installation de pavé uni Urban Stone offers expert guidance and high-quality materials to help you with your DIY project. Whether you’re a beginner or an experienced DIY enthusiast, Urban Stone’s team can provide the support and resources you need to create a beautiful and durable outdoor space. Contact them today to learn more about their products and services.