Embarking on a DIY home improvement project can be both exciting and rewarding, especially when it involves transforming the look of your floors with cheap vinyl floor tiles. Not only is this option budget-friendly, but it also allows you the flexibility to choose from an array of styles and designs, ensuring your floors stand out in the best way possible. Here’s a comprehensive guide packed with tips and tricks to help you achieve a successful DIY flooring makeover using vinyl tiles.
Planning Your Project
Measure Your Space
Start by measuring the room where you plan to install the vinyl tiles. This will help you determine how many tiles you need. Always purchase a bit extra to accommodate any mistakes or tricky cuts, especially if this is your first DIY flooring project.
Choose the Right Tiles
Select tiles that suit the room’s use and your personal style. For high-traffic areas, opt for durability and ease of maintenance. Consider moisture resistance for bathrooms and kitchens, and think about slip resistance for safety.
Gather Your Tools
You will typically need a measuring tape, utility knife, straight edge, and possibly a tile cutter. Also, prepare any underlayment or adhesive recommended for your specific type of vinyl tile, if applicable.
Installation Process
Prepare the Surface
Make sure your subfloor is clean, dry, and level. Any bumps or irregularities can show through the vinyl and may cause wear over time. Remove any existing flooring if necessary, and consider using a self-leveling compound on concrete floors.
Plan Your Layout
Before peeling any stickers or applying any glue:
- Dry Lay Some Tiles: This helps you visualize how they will look and decide on the orientation and placement.
- Start from the Middle: Find the center of the room and begin laying the tiles from there outwards. This central starting point helps ensure a symmetrical finish.
Installing the Tiles
- Peel and Stick: If you have peel-and-stick tiles, remove the backing and press the tile firmly onto the floor. Use a rolling pin or a roller to ensure it adheres well without air bubbles.
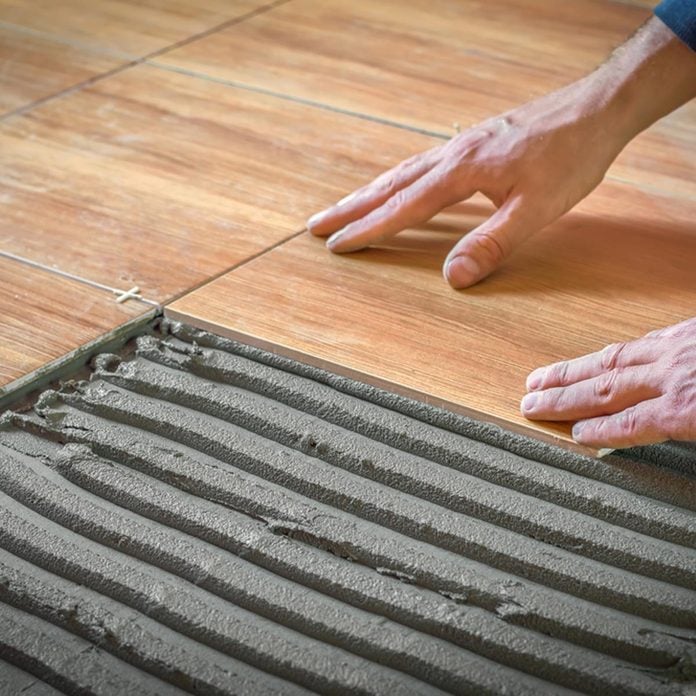
- Applying Adhesive: For tiles that need glue, apply the adhesive as directed by the product instructions. Lay the tile down gently but firmly, and allow the adhesive to cure as recommended before stepping on the floor.
Cutting Tiles
You will need to cut tiles to fit around corners and edges:
- Measure Twice, Cut Once: Ensure your measurements are precise to avoid waste.
- Use a Sharp Blade: A utility knife is usually sufficient for cutting vinyl tiles. Score the tile and then snap it for a clean break. For thicker tiles, a tile cutter might be necessary.
Finishing Touches
Seal the Edges
If your vinyl tiles aren’t waterproof, seal the edges, especially in moisture-prone areas like kitchens and bathrooms, to prevent water damage and lifting.
Reinstall Trim
Replace any baseboards or molding you removed before installation. This not only adds a finishing touch but also helps hold the edge tiles in place.
Maintenance Tips
Keeping your new vinyl floors looking their best is simple:
- Regular Cleaning: Sweep or vacuum regularly to remove dirt. Clean with a damp mop as needed, using a mild cleaner that is safe for vinyl flooring.
- Immediate Spill Cleanup: Vinyl is resilient, but it’s best to clean spills immediately to prevent stains or slipping hazards.
Conclusion
With the right preparation and some careful execution, installing cheap vinyl floor tiles can be a straightforward and satisfying DIY project. By following these tips and tricks, you can transform any room in your home with a fresh and beautiful new floor that reflects your style and meets your functional needs, all while staying within budget.


